Showing posts with label tutorial. Show all posts

Tuesday, April 23, 2019

Make a Custom Pillow Form, a tutorial

Just popping in to share how to reuse those old pillows to make a custom pillow form for a pretty new quilted pillow cover!
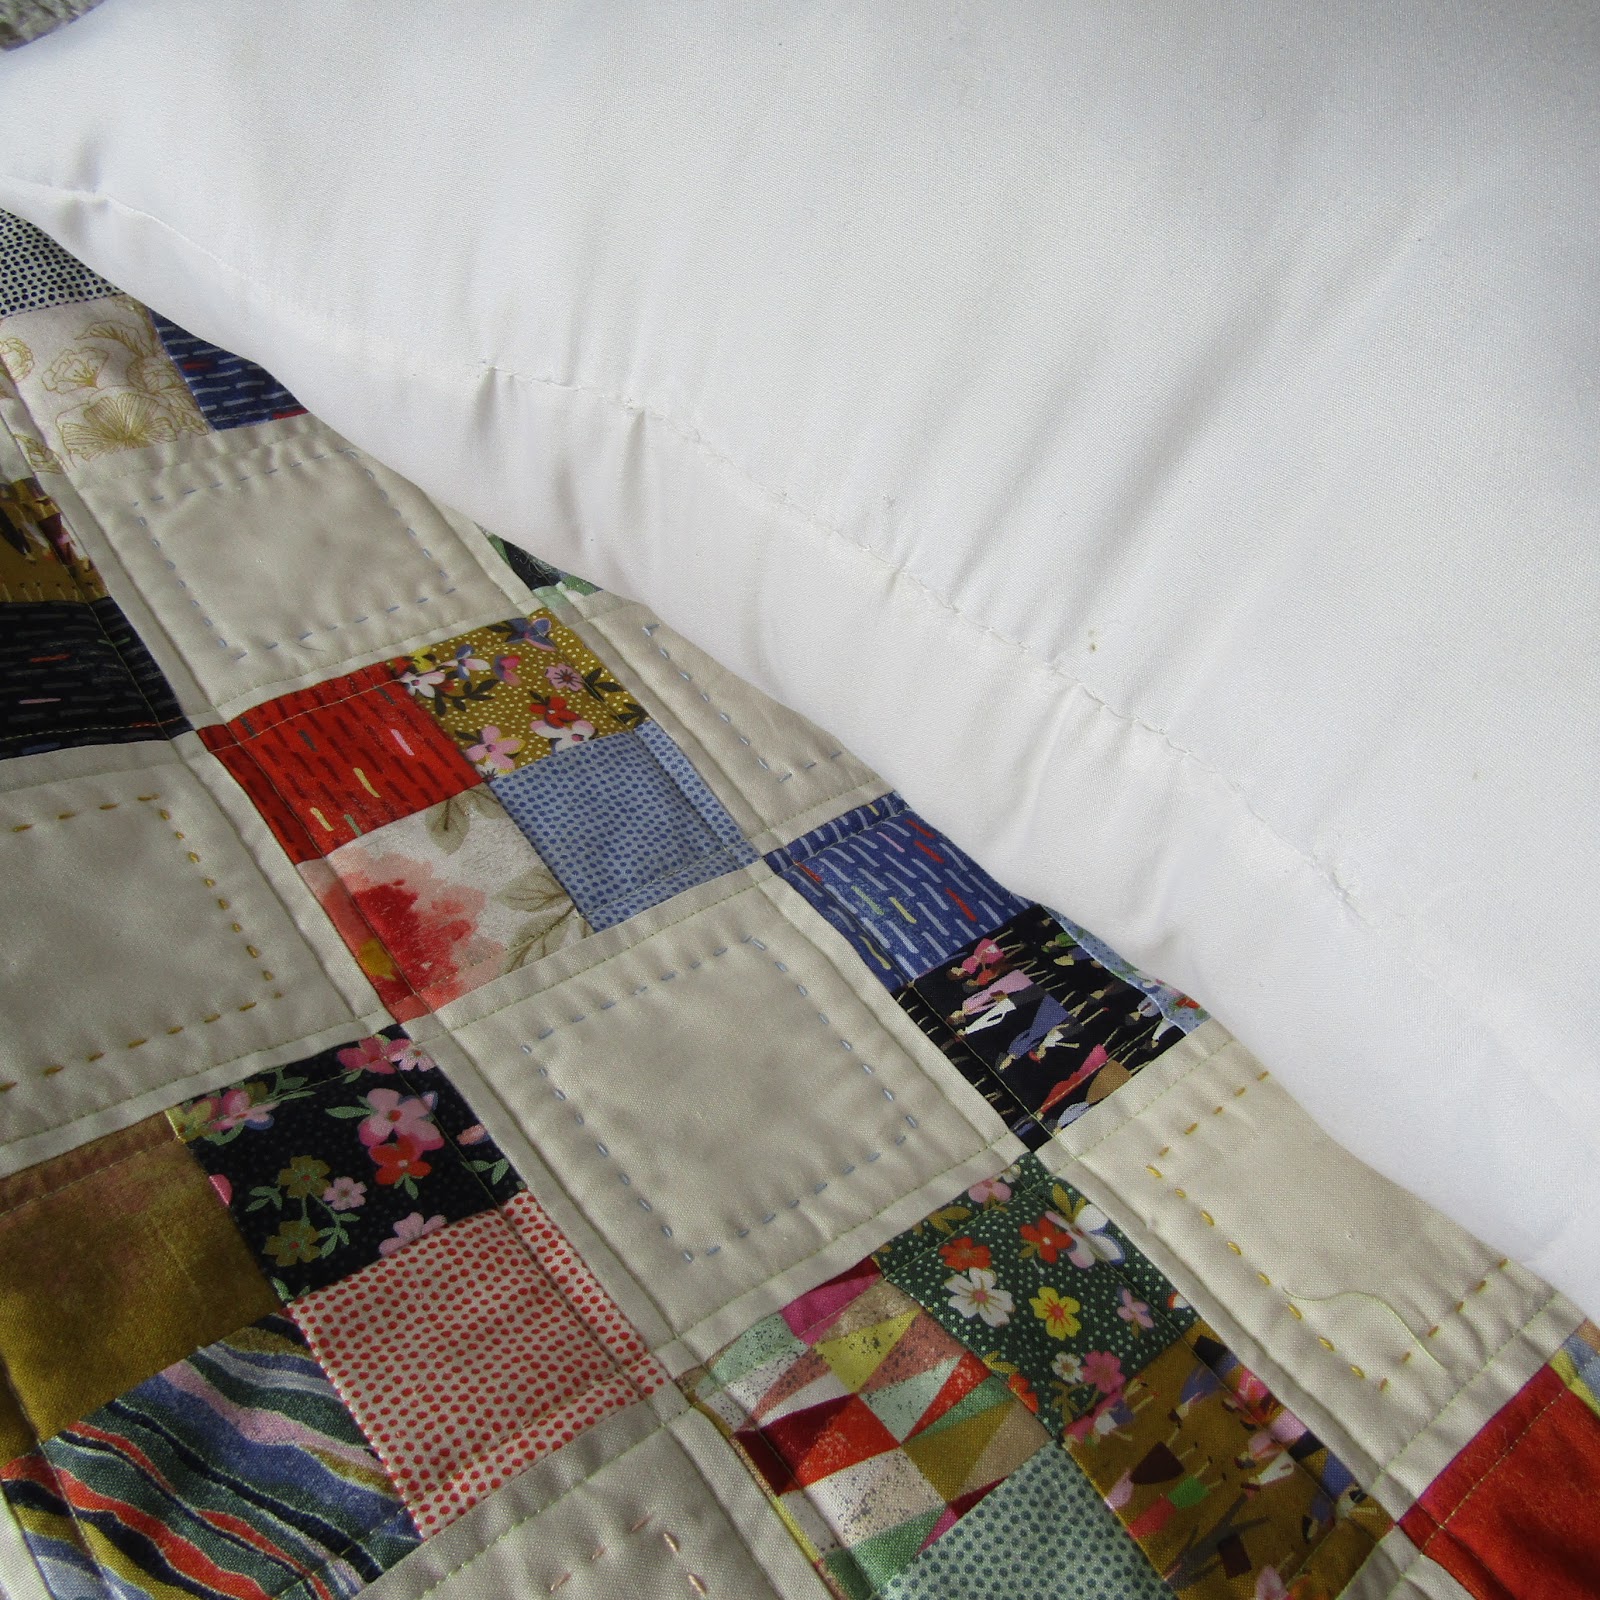
I seem to have needed a few of these lately and thought a simple tutorial might help someone else think to do the same!
1.  Starting with the old pillow, cut one end off and take the stuffing out.
2.  WASH and soak the pillow casing fabric in warm soapy, bleachy water! 
Rinse well, and dry...the casing is so lightweight you may usually just press it dry.
3.  Trim the other end off, and along one length, making the edges straight with your rotary cutter.
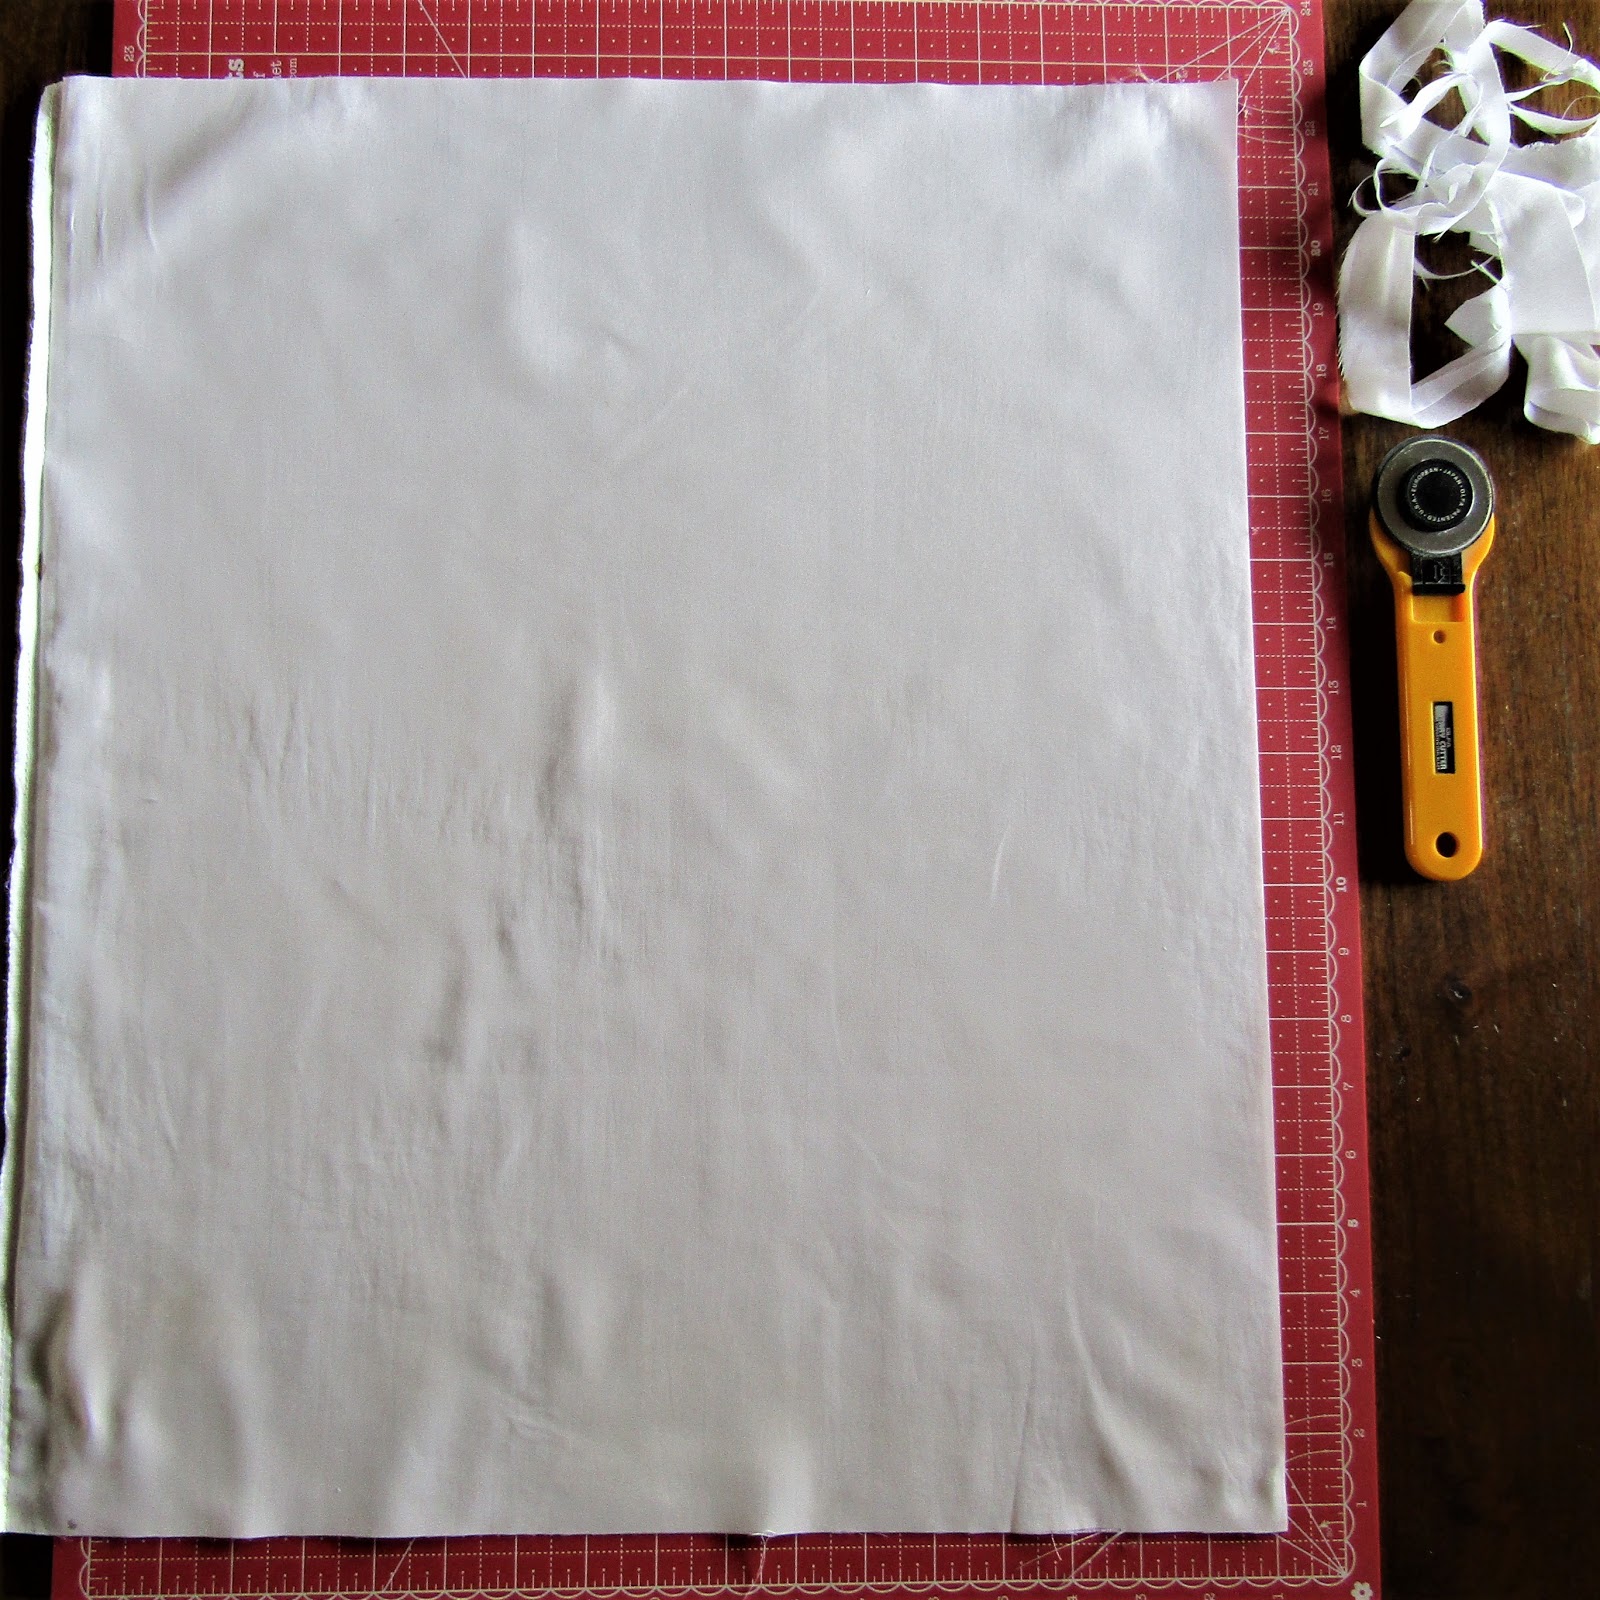
4.  If your pillow form is to be 18" or smaller, at this point, you would measure and cut to length.

But my pillow is larger than the my pillow casing, measuring 22" square, so I added a 4" strip to each end of my casing fabric, the strips cut from some casing fabric leftover from a different pillow and project.  To arrive at the 4" measurement, I simply measured the existing fabric(18" per side) and added the difference I needed(4") to each side, allowing for a 3/8" seam allowance.

5.  Beginning at the existing seam, sew, right-sides together, pivoting at the corners, and leaving a generous opening for turning and stuffing.  I suggest 5"-6" for the opening, shown in the picture by the 2 clips. Backstitch at each start and stop. I also recommend using a slightly larger seam allowance, say 3/8" or so.  
6.  Turn right side out. Using the stuffing from the pillow, take handfuls of the fill and pull apart repeatedly, to make it soft and loose, before filling your pillow, handful by handful.  If there are loose or empty-ish spaces, don't try to rearrange the stuffing to fill it, add handfuls where you need them, in the corners etc. When the pillow is filled to it's optimum, not too loose, not too full...
7.  Stitch the opening closedThis is the trickiest part for me, but I always manage to wrangle it closed with hand stitching. 
8.  Insert into your pretty quilted pillow cover, take pictures and admire liberally!
This is a fun pillow cover I started and finished without including on my Q2 Finish-A-Long list! I had long been itching to use 2 mini charm packs of "Saturday Morning" by Basic Grey, and I couldn't be more pleased with the colors and design!  I topped it off with some fun hand quilting detail in the plain squares.
 All of these except the smallest which is not a removeable cover, have home made, repurposed pillow forms in them!
As always, I hope these instructions were clear....please don't hesitate to ask if there is anything I can clarify for you!

Happy sewing!

Wednesday, April 3, 2019

Finish-A-Long Potholder Party!

Welcome to our first week of tutorials for the 2019 Finish-A-Long!
 I have been in rather desperate need of new potholders, and since "more gingham in my life" is an actual goal of mine for 2019, I thought these Easy Gingham Potholders were the perfect subject for a fun and easy tutorial!
For this batch of *mismatched* potholders I spent a pleasant afternoon playing with several different fabric combinations to give you all an idea of how different combos might look: Linens, Solids, Scrappy, and Black/White.
So let's get started!
Fabric Requirements: 
For 1 pair of potholders you will need:
  •  5" charms:  2 Dark, 2 Light, 4 Medium value charms.
  • 2  8 1/2" squares Insul Bright, or other reflective batting. Alternative: 2  8 1/2" squares cotton batting per potholder.
  • 2  8 1/2" squares fabric of choice, for backing
  • 2  1 1/2" x 4" pieces of matching fabric, for optional loops, if you hang your potholders
Materials for 1 potholder. I used 2 layers of cotton batting for my potholders.

Piecing:
We are basically making 4  4-patches per potholder, using a really fun and easy method that I use often!  I've used it for my recent 16-Patch Jolly Bar Quilt, and also to make 8 patches for my Tumble Bug Quilt.  So it is a good little method for any quilter's toolbox! 

1.  Take 1 Dark, 1 Light and 2 Medium charms. Pair each medium with the dark and light charms.


2.  Sew 1/4" from the left and right edges of your pairs.
**If using prints, be sure you sew the pairs right sides together.


3.  Using the seam line, measure 2 1/4" to find your cut line. If using precuts, you may want to measure and cut from both sides, for accuracy.


This yields 2 dark/medium units and 2 medium/light units:

4.  Pair one of each together, right sides together, making sure as you "flip" one unit over the other, the mediums are paired with the dark and light. Because we pressed to the medium, seams should nest nicely.
5.  Rotate and sew 1/4" from each edge, sewing across the nested seams.
'
6.  Again, using the seam to measure from, cut in half at 2 1/4".


This will result in 4 identical 4-patches. Press one unit to the dark/medium side, and the others to the medium/light side.
7.  Arranging in such a way as to nest all the seams, chain-piece the top row and the bottom row. Press in opposite directions. Sew top to bottom.  You now have one potholder top finished!  It should measure 8 1/2" at this point.  Repeat Steps 1-7 for a pair of potholder tops.

Optional Loop:  If you like to hang your potholders, make the loop by folding/pressing the 1 1/2" x 4" piece lengthwise in half.  Press each side in half again, to the center.  Stitch approximately 1/8" lengthwise. Make loop and stay stitch ends together.


To finish potholders:
1.  Layer batting or insulbrite, backing (right side up), and top (wrong side up).
**If adding the loop, stitch into one corner between the backing and top, laying the loop to the inside.

2.  Pin layers together around edges, leaving a 3" space along one edge for turning.  I always use double pins to mark my opening.

3.  Stitch 1/4" all the way around potholder, beginning and ending on either side of the space left for turning.  Backstitch at the starting and stopping points.

4.  Turn right side out. Press well. Turn edges under at the opening, secure with pins or clips, and stitch 1/8" around all edges, closing the opening as you go.  You may want to change your top thread to match before stitching.


Mission "More Gingham" accomplished!
Have fun sorting out your own gingham combinations!
Just remember it is all about light, medium and dark!
 I hope you have enjoyed this tutorial! If you have any questions, please don't hesitate to contact me, I am happy to clarify if I can! 
Thanks so much for joining me here!  If you make a set of potholders for yourself, I hope you will share a picture of them with me!  To share on Instagram, please tag me @cedarforksarah and use the hashtags #ginghampotholder and #FALtutorial!  
We will be having a new tutorial each day this week, during the Q1 Linky party!
Check the link up post for the schedule!

Happy Sewing, friends!


Wednesday, January 17, 2018

Making My Sewing Machine Free Motion Friendly!

There she be!
My perfect little sewing table, one my husband made over 20 years ago.
While I quilt my larger projects on our 6' dining table, this one has been perfect for this space and for all my everyday sewing needs.
Except for one!
Free. Motion. Quilting.
Over the years, I have allowed my imagination to throw up so many obstacles to this basic quilting skill!
I thought I had to be able to drop my feed dogs...or I thought I needed to cover my feed dogs, etcetera, ad nauseum!  Well guess what! 2018 is my year to learn FMQ!
 2 days ago, my sweet sewing table took a little trip out to the shop!
And looky what happened!
My very handy, and extremely handsome husband cut into the table and created a shelf/drawer space for my machine to sit in!
I wasn't supposed to show any pics of the underneath, but look how tidy those cords!
 One obstacle down...machine is now flush with the surface of the table!
But what about those pesky feed dogs? 
Look at em just sticking up there like that!!!
It just so happens that my husband  (did I mention he is the "Fix-It-Up-Chappy"?) had already found a solution to this little conundrum one random morning last November or December...
and it involves these little plastic washers that came with my Kenmore, for under the thread, I guess, on the spindles.
Oh yeah! It is about to get really good you guys!
Check this out!
1. Remove cover plate.
 Like so.
See the holes where the screws just came out of?
There are 2 on my machine.
 2. Place washers over the holes.
 3. Replace cover plate.
Ooooh, looky there!
Those feed dogs have virtually cowered in submission!
I have tested it out, and I think the very slight rise in the cover plate will be okay, it is very smooth...we shall see.  At least it is a doable place to start!
The only thing I still lack is a darning foot...and it is on order!
 Enter a most timely Quilt Along led by the talented Jessica Skultety of Quilty Habit
and hosted monthly at the Central Jersey MQG blog! It is open to everyone, not only guild members! Thank you!!!!!
Central New Jersey MQG FMQ QAL
I have my fabrics pulled and 2 more weeks of January left to make my first Fat Quarter FMQ theme! 
Also, a big THANK YOU to Bernie/Needle and Foot for bringing this super fun looking, relaxed QAL to my attention at the beginning of this year! It has really helped catalyze all this progress in my sewing situation!!!!
Woot!

Seriously crushing on my FMQ prospects! 
Linking up with Beth at Main Crush Monday (I know I'm late, but the linky is still open!)
and Lorna at Let's Bee Social!


Wednesday, September 23, 2015

A Prairie Rose Garden for Moda Bake Shop!

Yippee!!!
I am super excited to introduce you to my newest, favorite quilt!
This pattern is not for the HST faint of heart, but on the other hand, by the time you complete this, you may consider yourself an HST Expert!
HSTs...

and all the trimmings :)

I came upon this block design last August, as you may remember, and have made a couple, okay, several  different versions since then! What can I say? It is a super fun block to make!
So, naturally, I had been eyeing the different "future collections" coming from Moda for some time with this pattern in mind, and when I saw Tucker Prairie, the debut fabric line by 1Canoe2...it was as if they were made for each other, all the way down to the names!!!
The great saturated colors, the geometrics, the florals, the variety of scale in Tucker Prairie...pure Prairie Rosey bliss!
The backing is a new-to-me Moda Basic...Cross Weave...seriously
I might have draped myself in the 4 1/2 yards of it!!!
and twirled around the room :)
It is such fun to see this "pet" design come to life in a bigger-than-baby-size way! 
Many thanks to the folks at Moda for giving me the opportunity, and the luscious fabric :)
testing 1 2 3...
Please check out Prairie Rose Garden on Moda Bake Shop and let me know what you think in the comments over there...I sure do appreciate it!!!
Sew happy to link up again with Lorna and friends at Let's Bee Social!
And a real finish to share @Finish It Up Friday with CrazyMomQuilts!

**On one other fun side note....
As I was finishing this quilt up, the Fabri-Quilt New Block Blog Hop happened...
And, another Sarah, of 123Quilt, also came up with this block!
My eyes nearly popped when I spotted her block among all the other wonderful blocks on Jayne's pinterest  collection. It is so pretty in solids, and her assembly method is easy and quick, too.
I think the timing remarkable, as I had been rather head down with the completion of Prairie Rose! Oh, and before she was married, she was a SarahZ too!
Very appropriate for us to be on the same wavelength, I think :)