In preparation for my very first ever giveaway tomorrow, for The Chicken Run, I wanted to share this tutorial for making "Pin Hens"...little chicken pincushions! So get your "cluck" on, here we go!

Instructions for a little log cabin pincushion.

I begin my little log cabins with 2 centers, 1" square.
Pick 6 different "log" fabrics and use 1" strips of each.
For an improv block, any scraps will do...you are looking for a 3 1/2" - 4" finished size.
Just trim with the addition of each "log".
Don't fret too much about keeping them identical in size or square, because once it is a cushion, it will look just fine :) I just do my best as I go along.


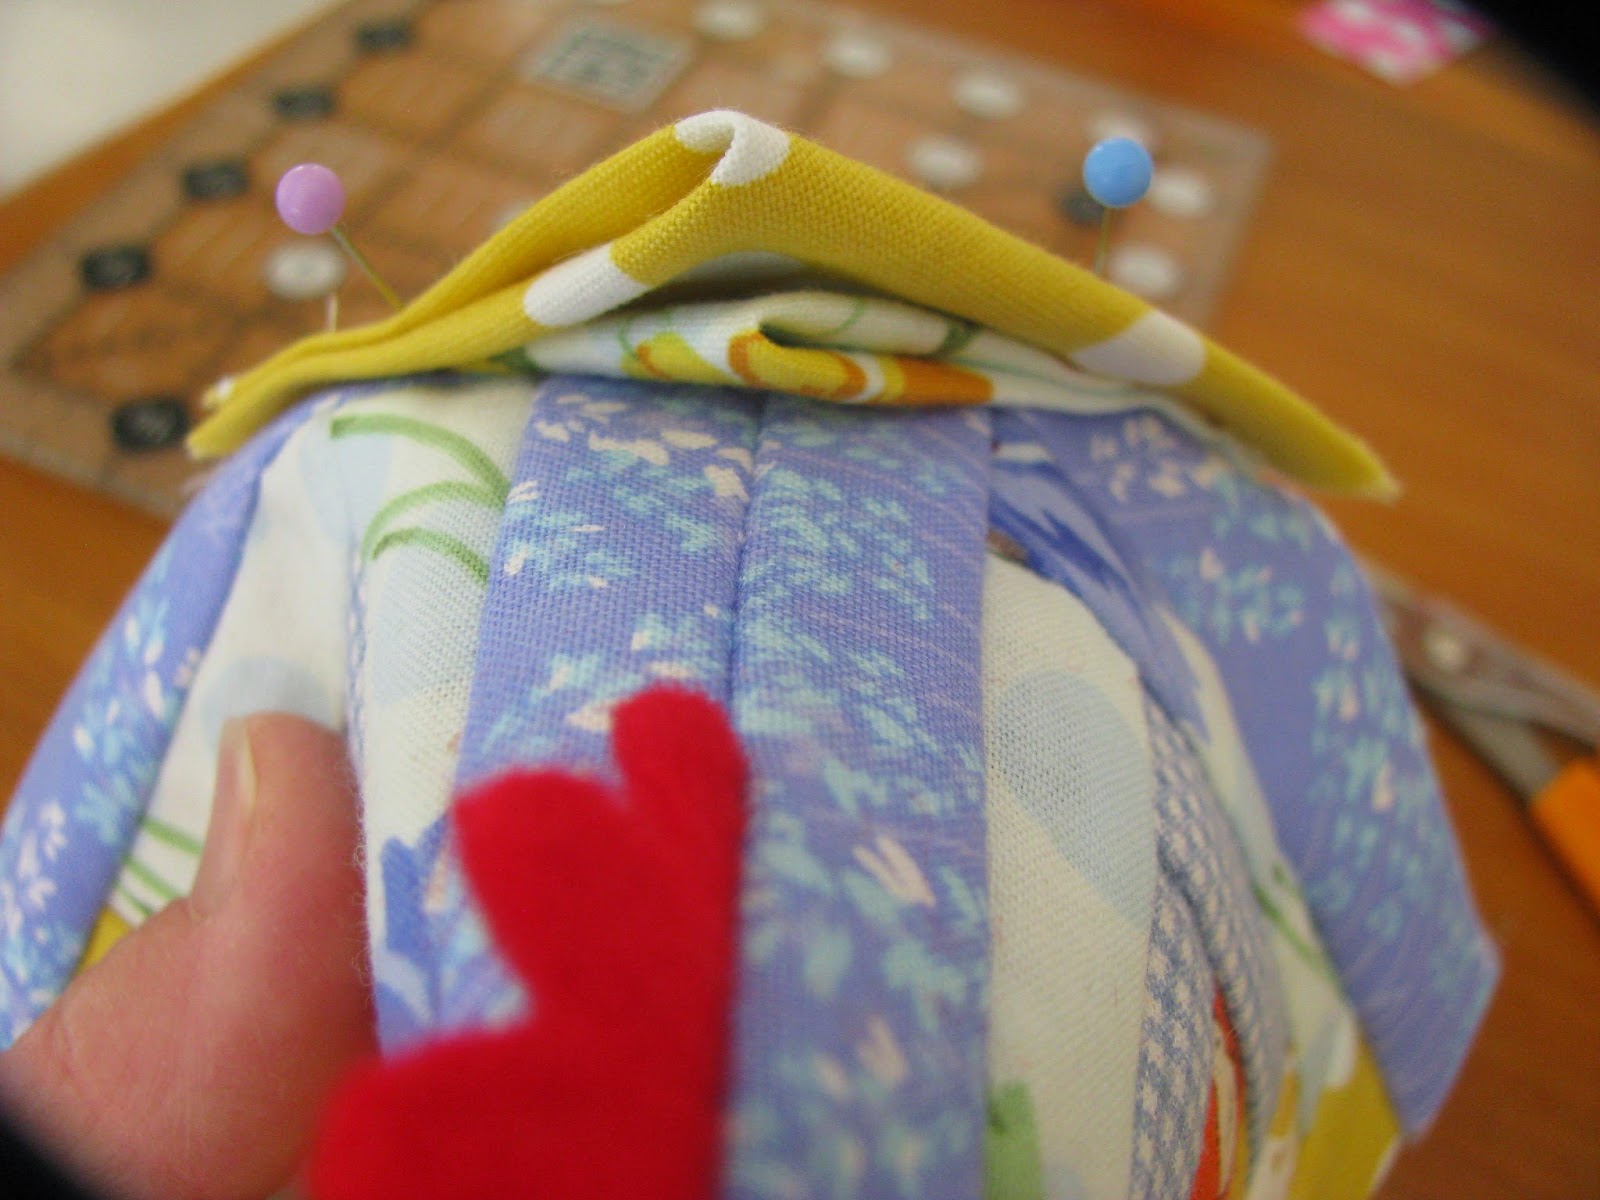
For the tail you will need 2 squares.
The larger square should be at least 3", no bigger than 3 1/2". The smaller square 2 1/2" or smaller.
Fold and press on the diagonal twice.

Baste together close to the edge...inside your usual 1/4" allowance

Using scraps of felt or even polar fleece, cut a little beak and a comb. Just remember to include enough for the seam allowance.

Sandwich between your 2 little blocks, right sides together.


Turn right side out, press seams open a bit if you like.
Center the tail point with the back seam, and stitch using a 1/4" seam allowance

Turn inside out again, and stitch the bottom seam, backstitch at the end.

 |
| I have nipped the tail corners here, as you can see |
Before you stuff your chicken, now is the time to give her eyes!
I use a simple "french knot", with a couple strands of a variegated cotton yarn I have. Any perle cotton or embroidery thread would do wonderfully!
I include the process here, in case you, like me, don't know how to make a french knot :)
(Well, I do now!)
Knot your thread and run up the inside of the chicken, coming out where you want the eye.

Take two wraps around your needle

and poke the needle back through the original hole

Make sure it comes out on the other side precisely where you want the other eye.
 |
| this looks a bit graphic, eh? :) |
Pull through

Take another 2 wraps around the needle

Poke needle back through original hole

This time just pull through without coming out on the other side and cut thread inside.

If you are making this for yourself, you may now "feed" your chicken!
I use grits for mine.
However, be advised, if you are planning to giveaway your chicken overseas (Chicken Run Giveaway), use a non-foodstuff stuffing!
Fill...

Stitch closed...I hand stitch, because if I didn't I would spill grits all over my machine!!

Voila!

I hope you are able to make sense of these instructions!
I have also made these using an hourglass block, made from 2 5" charms!
I am happy to clarify or answer any questions as best I can!
Have fun!
But be warned...this may lead to a whole flock of Pin Hens, once you get started ;)

8 comments:
Those are so cute! I think I'll have to make one :)
such a fun use of a log cabin block!!! you have a cute, colorful collection... or should i say flock!
What a fantastic tutorial! I hope everyone will join in the giveaway you are hosting :-)
Officially "hooked".......or should I say "corralled", "roped" or "penned"!!!?? Your "tute" was awesome and I have bookmarked it for the not-to-distant future!! Hehe! Your 'flock' appears to be having a "hen party".....possibly 'hatching' some sort of plan???? LOL! Hugs.................
Brilliant tutorial. I'm just going off to have a go!
LoveDove looks right at home. Your hens are incredible and have a real Spring flavor. Best of luck on the next leg of the Chicken Run.
Finally got a few minutes to sit down and make one of these little cuties..smallest thing I've ever pieced but your instructions were clear and full of encouragement so I kept at it til I got the hang of it. There will be more at my sewing table, too.
hi,
these are sooo cute!
how do I follow your blog?
I am new to blogging, would you like to follow my blog?
http://www.quilt-sewhappy.blogspot.com
Thanks,
Jacqueline in Pitt Meadows
Post a Comment